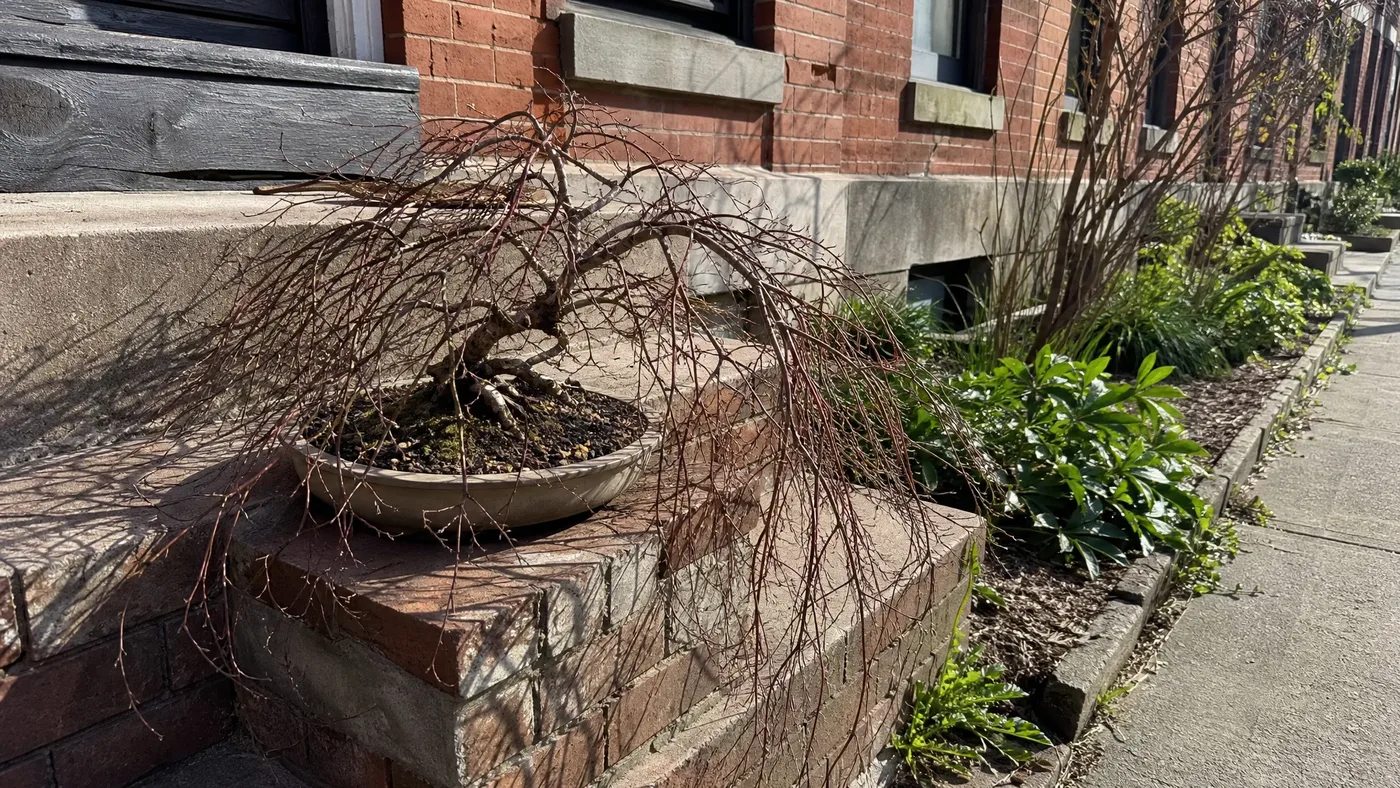
Crimson Queen Japanese Maple Bonsai: Is the Weeping Form Suitable?
A customer once asked us to ship a Crimson Queen so they could train it as a bonsai. Before we boxed anything, we asked the question that decides the whole project: what style do you picture at the end of the line?
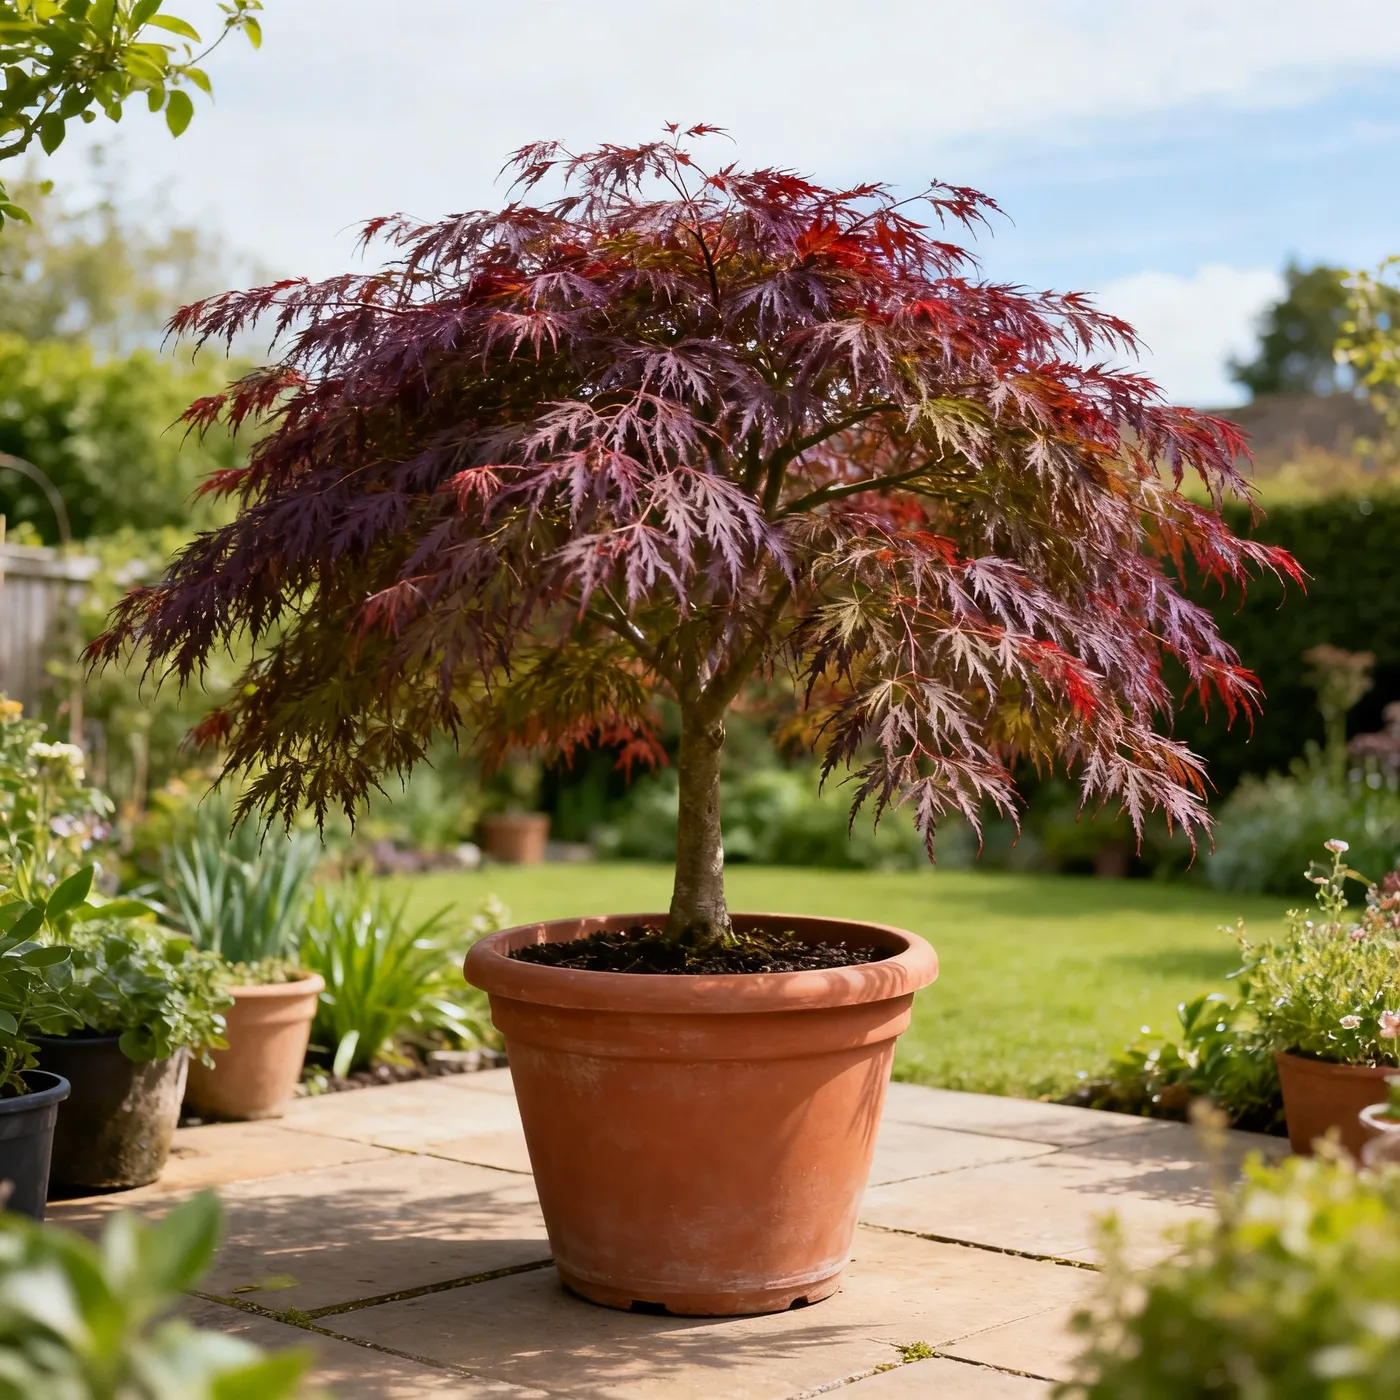
That answer matters because Crimson Queen is a cascading, mounding laceleaf, not the upright-trunk maple most bonsai advice assumes. Pushed into a style that fights it, the tree resists you for years. Shaped with its droop, it gives you fine, lacy foliage in a small pot that turns scarlet in fall.
This article talks about training Crimson Queen as a bonsai and answers the questions customers ask us most. Read on to learn how to judge a starting tree, which styles suit the weeping habit, what to do about big leaves, and the pot, root work, pruning, wiring and wintering that follow, in that order.
Judging a Crimson Queen Japanese Maple as Bonsai Stock
Start with the plant, because no later step repairs a poor choice. This is what we check first, and in what order.
Read the Trunk Line
Crimson Queen is a weeping dwarf, and in the ground it builds a mound of foliage, growing to only 10 feet tall and slightly wider. Most of what you see is canopy, so the trunk is hidden.
Lift the foliage and look underneath. You want a trunk that thickens toward the base, with some bend or movement rather than a straight pole. Look for low branches that already fall in different directions, since those become your first layers.
Check Health Before You Commit
Next, confirm the tree is sound, because a weak maple will not survive the root work that comes later.
Leaves should be even in color, with no brown, crisped edges, which is how leaf scorch shows. Tips should be live, and the base should be firm. Growth is slow to moderate on Japanese maples, so trunk thickness is the one thing you cannot hurry. Buy the thickest trunk you can find. Our size guide shows what the tree does if you leave it alone.
If you are choosing from our plants, tell us it is for bonsai and we will pick with the trunk line in mind.
Where the Weeping Habit Fits Informal Styles
Choose the style before you cut anything. With this cultivar, the tree's habit makes much of that choice for you.
The University of Florida extension describes dissectum maples as having a mounded shape with a round, weeping crown, and it lists bonsai among their uses. Branches fall outward from the center, so gravity works on every shoot. Styles that follow gravity ask very little of you. Styles that need rising branches ask for constant wire.
The table below sorts the common styles by how well they suit Crimson Queen.
| Style | Fit | Why |
|---|---|---|
| Weeping | Best | Matches the natural crown, so the work is mostly editing |
| Informal upright | Good | A curved trunk shows while the branches fall in pads |
| Semi-cascade | Good | One or two branches spill past the pot rim, as the tree already wants to |
| Full cascade | Demanding | Needs a tall pot and a lot of counterweight |
| Formal upright | Poor | Needs a straight trunk and level tiers, and the drooping branches work against both |
| Broom | Poor | Needs fine twigs fanning upward |
Most Japanese maple bonsai advice assumes an upright trunk, and we would set it aside here. If you are unsure, what we tell customers is to start with informal upright. It gives the trunk room to show and lets the branches do what they do anyway.
Leaf Size Stays Large on Crimson Queen Japanese Maple
This is the cultivar's main shortcoming as bonsai, and we would rather you hear it now than after two years of work.
The species has leaves at 2 to 5 inches with five to nine lobes. The University of Florida puts dissectum leaf blades at 2 to 4 inches. Crimson Queen's leaves are divided into 7 to 9 narrow lobes. We know of no dependable way to make them much smaller, so we do not promise one.
What That Means for Scale
A leaf that long on a small tree reads as oversized, and the trunk looks thin beneath it.
The deep cutting helps. The lobes are narrow and lacy, so the leaf looks lighter than a solid leaf of the same length, and light shows through the pads. But the effect has limits. A very small tree will always look overleafed.
Plan the Size Around the Leaf
The practical answer is to aim for a larger bonsai. A bigger tree with a thick trunk carries these leaves with far more credibility than a small one does.
Thin the foliage so each leaf stands apart rather than overlapping into a solid mass. Ask a local bonsai club about leaf-reduction methods before you try any, because we would not apply them to this cultivar without advice from someone who has done it.
Choosing a Shallow Pot for the First Move
Pot decisions come before the root work, so gather everything first. Pot shape and mix are the two choices that matter most.
Depth and Width
Go shallow, but not so shallow that the tree tips. A weeping canopy catches wind, and a lightweight pot holding a full crown falls over easily.
Make the pot wide enough that the foliage does not overhang far beyond it. For semi-cascade, choose a deeper pot, since the branch spilling below the rim needs counterweight. A dark, earthy glaze sets off the burgundy leaves better than a bright one, though that is our taste rather than a rule.
Mix and Drainage
Crimson Queen suits soil that is moist but well-drained, acid or neutral. In a shallow pot, that means a coarse, gritty mix that drains quickly and still holds some moisture.
Avoid garden soil, which packs down and stays wet. Our guides to growing Crimson Queen in a pot and watering through the seasons cover the general side.
Gather This Before You Start
Have these ready so the tree is never sitting bare-rooted while you search for something.
- A pot with large drainage holes, with mesh to cover them.
- Wire to anchor the tree through the tie holes.
- Enough coarse, free-draining mix to fill the pot and work between the roots.
- A root hook or chopstick, and clean, sharp root cutters.
- A sheltered, shaded place for the tree to recover.
Root Work Before the Crimson Queen Japanese Maple Settles In
Follow these stages in order. Skipping ahead is how most first repots go wrong.
Time the Move
Repot in late winter, when the buds begin to swell and before the leaves open. The tree is still dormant, so the roots recover as growth starts.
Late frosts can damage the species, so have a frost-free spot ready for the tree afterward. Do not combine hard root work with hard branch pruning in the same year. Do one, then the other.
Reduce the Roots
Take the tree out and comb the old soil from the outside and underside of the root ball with your hook.
Cut back thick, circling roots and keep the fine, fibrous ones. Customers usually ask us how hard they can cut on the first pass, and our answer is less than you think. Maples do better when you reduce the roots in stages over two or three repots, not all at once.
Pot and Settle
Set the tree slightly off center, in line with your chosen style. Wire it down through the tie holes so it cannot rock.
Work the mix between the roots with your chopstick so no air pockets remain, then water until the pot runs clear. Keep it out of wind and out of afternoon sun. Expect a slow leaf-out. Hold off fertilizer until the new leaves have hardened.
Pruning the Cascade Into Layers
With the roots settled, you can start shaping the branches. Work from the trunk outward.
A garden plant needs little routine cutting, but bonsai asks for more, so cut deliberately. Our guide to pruning Crimson Queen covers the garden version.
Show the Trunk
Remove branches that cross the trunk, point straight up, or crowd the center. This opens a view of the trunk line, which is what you bought the tree for.
Lift the lowest branches slightly so the trunk base is visible. A weeping maple with no visible trunk is a shrub in a pot.
Build the Pads
Choose one branch at each level of the trunk to become a layer. Shorten each to a side shoot that points outward or downward, then thin the lacy interior so light reaches the inner leaves.
Leave clear air between layers. Each pad should read as a separate cloud of foliage, not a single heap. Work on one or two branches a season and let the tree show you how it responds before you cut more.
Wiring, Wintering and Routine Upkeep
Once the shape is roughed in, the work becomes a yearly rhythm. Wire is the lightest part of it.
Wire Lightly
Use wire only to place a branch, since the droop does the rest. Check it often and remove it before it bites into the bark.
Branches thicken faster than you expect, and a scar on a smooth maple branch lasts for years.
Protect the Pot Through Winter
A pot freezes harder than the ground does. The species is hardy in zones 5a to 8b, but that rating assumes roots in soil.
Move the pot to an unheated, sheltered spot or sink it in mulch, out of drying wind. Do not let it dry out completely. Our winter care guide goes into the details.
The Yearly Rhythm
The tree takes full sun to part shade. In a small pot that dries fast, give it afternoon shade to prevent leaf scorch on those large leaves.
Repot when the pot is full of roots, not on a calendar. Prune structure in late winter, thin lightly through the growing season, feed modestly, and watch the soil moisture daily in summer.
A Workable Bonsai Path for Crimson Queen Japanese Maple
Crimson Queen is worth the effort if you want a weeping or informal tree and accept that the leaves will stay large. The path is simple: pick a thick-trunked plant, choose a style that follows its droop, move it into a shallow pot with a gritty mix, reduce the roots in stages, then prune into layers and wire lightly. Treat the first two years as setup, and judge the tree after that.
Crimson Queen Japanese Maple
Nursery-grown Crimson Queen Japanese Maple in sizes from 1 Gallon, shipped to your door.
From $59.97
Shop Now →If you have questions before ordering a tree for training, send them to us and we will answer. On our farms we give Crimson Queen moist, well-drained soil and relief from the hottest afternoon sun, and we grow and sell top-quality trees.